


Getting started with Apple Logic Pro as an absolute beginner.
Getting started with Apple Logic Pro as an absolute beginner.
Kick start your music career with Apple Logic Pro

Apple Logic is a digital audio workstation (DAW) software that is used for music production, audio editing, and mixing. Here is a beginner's guide to using Apple Logic:
1. Getting Started
First, you will need to download and install Apple Logic from the App Store. Once installed, launch the application, and you will be presented with the main interface. You can start a new project or open an existing one.
2. Understanding the Interface
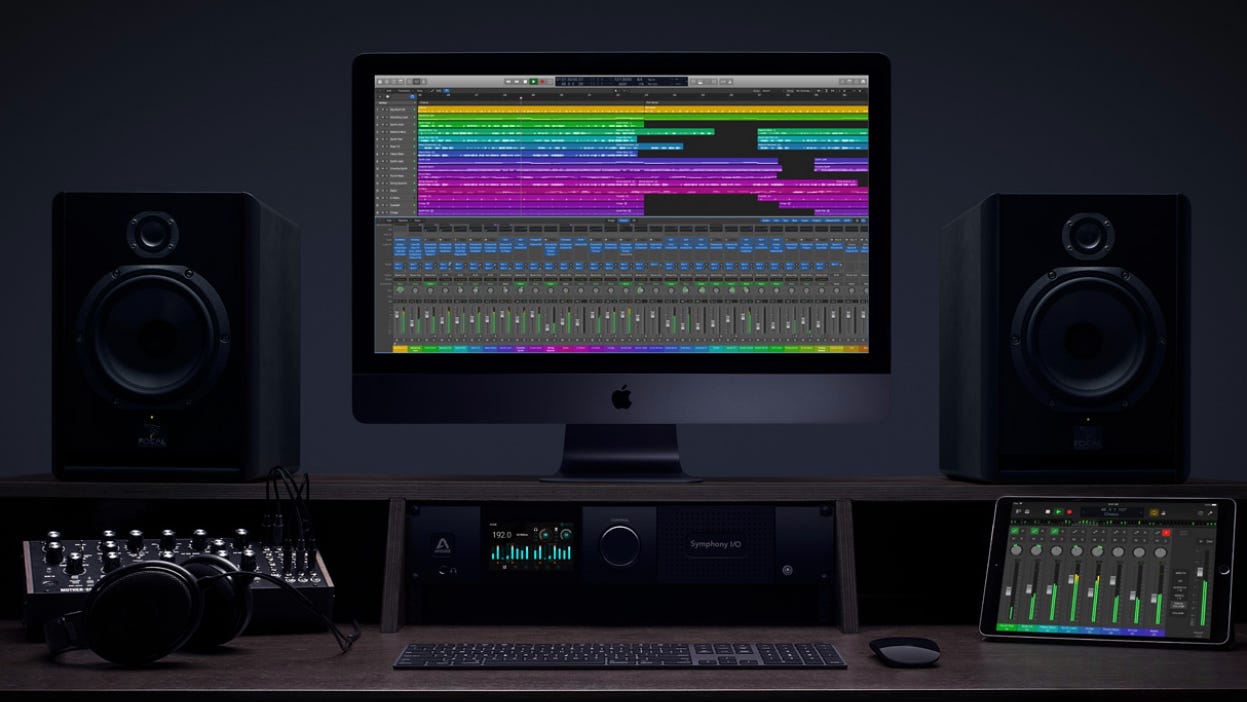
The Apple Logic interface has several components that are important to understand. The main window is called the arrange window, which is where you arrange and edit your audio and MIDI tracks. On the left side of the window, you will find the library, which contains a variety of sounds, loops, and virtual instruments. The toolbar at the top of the window contains a variety of tools that are used to edit and manipulate audio and MIDI.
3. Creating Tracks
To create a new track, click on the "Track" menu and select "New Track." You can choose between an audio track or a software instrument track. If you choose a software instrument track, you can select a virtual instrument from the library.
4. Recording Audio and MIDI
To record audio, you will need a microphone or an instrument that can be connected to your computer. To record MIDI, you can use a MIDI keyboard or draw in the notes manually. To begin recording, click on the "Record" button in the transport bar, which is located at the top of the arrange window.
5. Editing Audio and MIDI
Once you have recorded your audio or MIDI, you can edit it using a variety of tools. To edit MIDI notes, select the MIDI region and double-click on it. You can then use the piano roll editor to adjust the notes. To edit audio, select the audio region and choose "Edit" from the toolbar. You can then use the various tools to adjust the audio, such as trimming, fading, and adjusting the volume.
6. Mixing and Mastering
After you have recorded and edited your tracks, it's time to mix and master them. Mixing involves adjusting the levels, panning, and effects of each track to create a cohesive sound. You can use the mixer window to adjust these settings. Mastering involves applying the final touches to your mix to make it sound polished and ready for distribution. You can use the mastering tools in Logic to adjust the overall volume, EQ, and compression of your mix.
7. Exporting Your Project
Once you are happy with your mix and master, you can export your project as a stereo audio file. Click on the "File" menu and select "Bounce" to export your project. You can choose the format, quality, and location of the exported file.

8. Learning More
This is just a basic guide to using Apple Logic. There are many more features and tools that you can explore to enhance your music production skills. You can learn more by watching tutorial videos, reading user guides, and experimenting with the software. Additionally, Apple Logic has a vibrant user community, and you can connect with other users to learn and share your knowledge.
In conclusion, Apple Logic is a powerful tool for music production, audio editing, and mixing. With this beginner's guide, you should be able to get started with creating your own music using Apple Logic. With practice and experimentation, you can take your music production skills to the next level.